Scr0ll d0wn to D0VVNL0AD
The Simplest Way to Follow Logitech Unifying Receiver Pairing Instructions
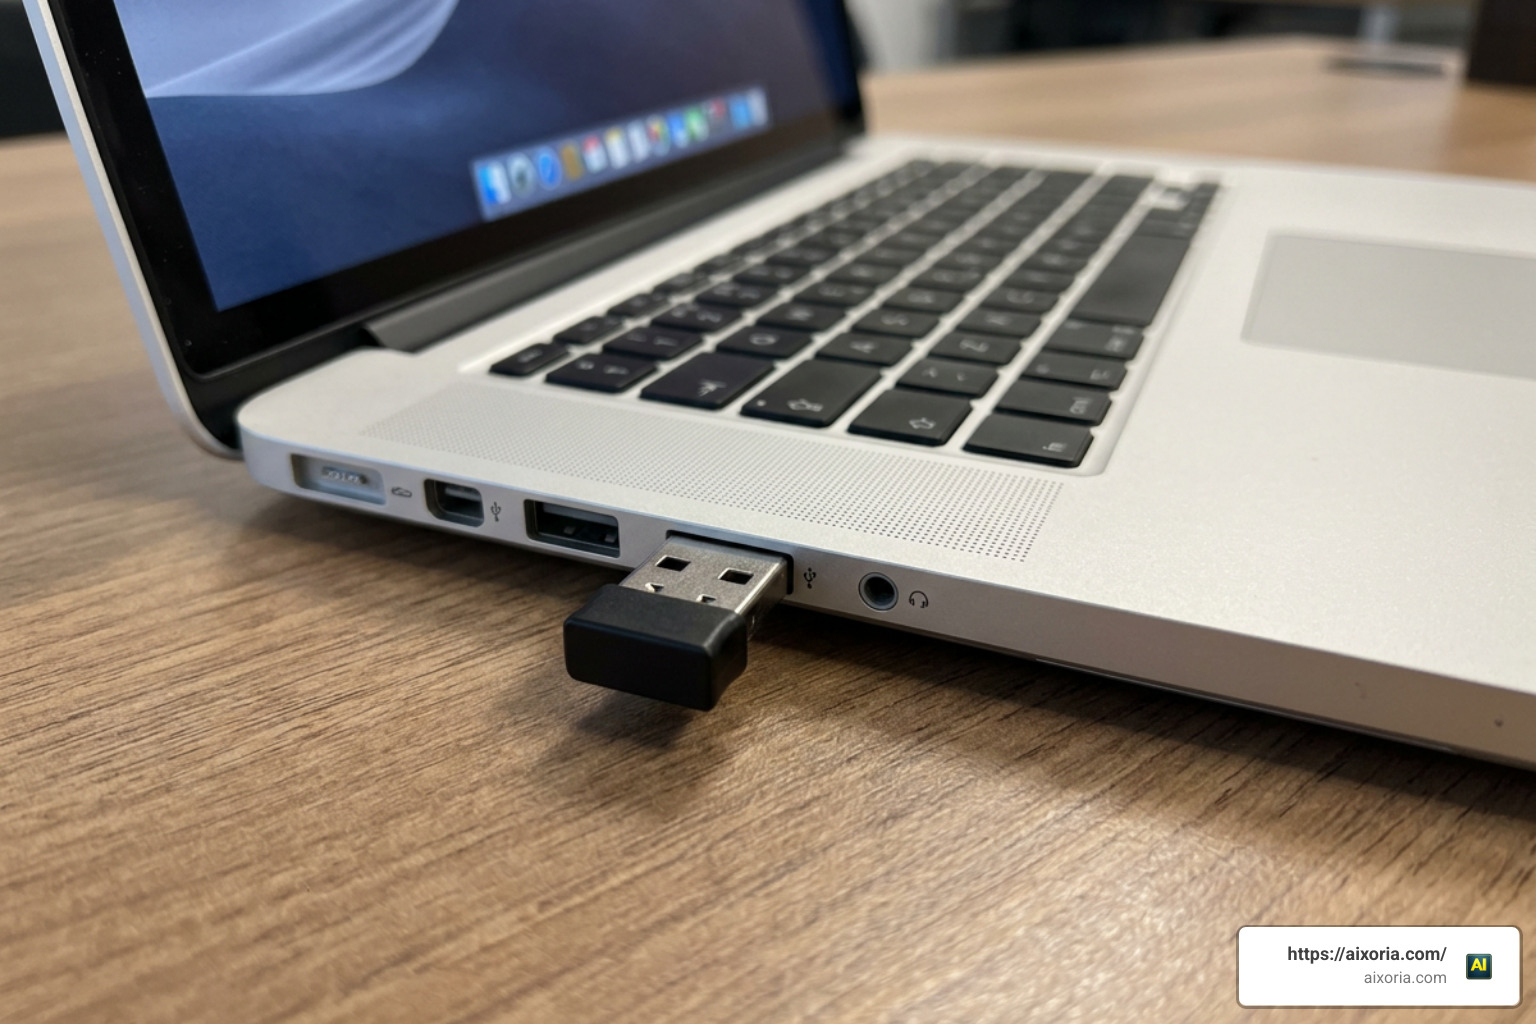
The Logitech Unifying Receiver pairing instructions below will get your wireless keyboard or mouse connected in under two minutes.
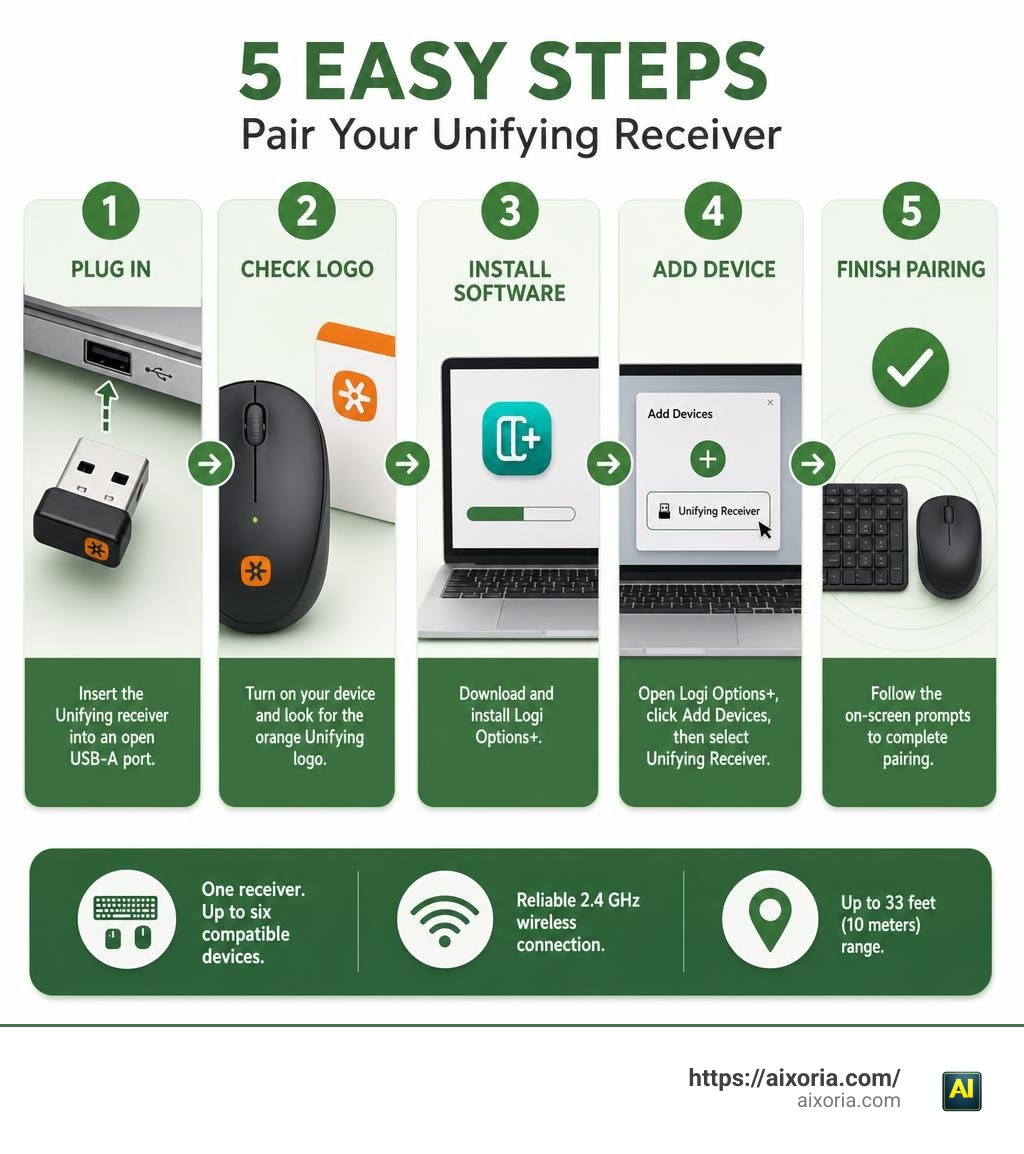
Quick answer — how to pair your Logitech Unifying Receiver:
- Plug the small USB receiver into an open USB-A port on your computer.
- Turn on your Logitech device (check for the orange Unifying logo on the device or box).
- Download and install Logi Options+ from Logitech’s website.
- Open Logi Options+, click Add Devices, then select Unifying Receiver.
- Follow the on-screen prompts to complete pairing.
That’s the short version. One receiver can handle up to six compatible devices at once, all within a range of 33 feet (10 meters).
A few things worth knowing before you dive in:
- The orange Unifying logo (a small asterisk-like symbol) must appear on your device for this to work.
- The old standalone Logitech Unifying Software is no longer supported — Logi Options+ is the current recommended tool.
- Pairing data is stored on the receiver itself, not your computer, so you can move it between machines without re-pairing.
What is a Logitech Unifying Receiver and How Does It Work?
The Logitech Unifying Receiver is a tiny USB dongle that has saved millions of USB ports worldwide. Operating on the 2.4 GHz wireless band, it provides a highly reliable, lag-free connection that reaches up to 33 feet (10 meters) away.
But what makes it truly special is its ability to act as a universal hub. Instead of plugging in a separate USB dongle for your mouse and another for your keyboard, you can connect up to six compatible Logitech devices to a single receiver.
This proprietary technology is distinct from Bluetooth. Because the connection is managed directly between the receiver and your peripheral, it bypasses the standard operating system Bluetooth stack. This results in a faster, more stable connection that is ready to use even before your operating system fully boots up.
To help you understand where the Unifying Receiver fits in today’s wireless landscape, we have put together a comparison table of Logitech’s primary connection options:
| Feature | Logitech Unifying Receiver | Logi Bolt | Bluetooth |
|---|---|---|---|
| Primary Use Case | Everyday consumer keyboards and mice | Enterprise-grade security and high-congestion offices | Universal compatibility (phones, tablets, laptops) |
| Wireless Technology | Proprietary 2.4 GHz | Bluetooth Low Energy (secure mode) | Standard Bluetooth protocols |
| Max Devices Paired | Up to 6 devices | Up to 6 devices | Typically 1 device per channel |
| Connection Range | 10 meters (33 feet) | 10 meters (33 feet) | 10 meters (33 feet) |
| Compatibility | Older and mid-range Logitech models | Modern, premium, and business-focused models | Almost any Bluetooth-enabled host device |
Identifying Unifying-Compatible Devices
Before you begin the pairing process, you must verify that your mouse or keyboard actually supports the Unifying technology.
The easiest way to check is to look closely at your hardware. Compatible devices feature a distinct, bright orange logo shaped like a six-pointed asterisk or sunburst. You will usually find this logo printed on:
- The bottom of your mouse.
- The underside of your keyboard.
- The battery compartment cover.
- The USB receiver itself.
If your device does not have this orange icon, it will not connect to a Unifying Receiver. If you are ever in doubt, you can review the official compatibility list and learn How to Set Up the Logitech Unifying Receiver | Logitech to ensure your gear matches up correctly.
Logitech Unifying Receiver pairing instructions
Now that you have confirmed your devices are compatible, we can walk through the actual pairing process. In the past, you had to use a basic, standalone tool called the Logitech Unifying Software. However, as of July 2026, Logitech has fully transitioned to Logi Options+ for modern operating systems.
Logi Options+ serves as an all-in-one control center. It not only manages your Logitech Unifying Receiver pairing instructions but also allows you to customize button actions, adjust pointer speeds, and configure application-specific shortcuts.
To help visualize how the pairing sequence flows from start to finish, take a look at this process path:
To get started, make sure you download the correct software package. You can access the official resources and step-by-step guidance directly via Connecting a Unifying-ready device to a Unifying receiver – Logitech Support + Download.
Step-by-Step Logitech Unifying Receiver pairing instructions for Windows and Mac
Follow these detailed steps to pair your mouse or keyboard on a Windows or macOS computer:
- Plug in the Receiver: Insert your Unifying Receiver directly into an available USB-A port on your computer. For the most stable connection, avoid using external USB hubs or adapters if possible.
- Open Logi Options+: Launch the software. If you do not have it installed, download the installer from Logitech’s official site and follow the prompts to complete the installation.
- Navigate to Add Devices: In the Logi Options+ home screen, look for the “Add Device” button (often represented by a plus icon or located in the top-right corner of the interface). Select Unifying Receiver from the list of connection options.
- Power Cycle Your Device: The software will instruct you to turn your keyboard or mouse off and then back on. Locate the power switch (usually on the bottom or side of the device), switch it to the OFF position, wait three seconds, and flip it back to the ON position.
- Wait for Detection: The software should automatically detect your device within a few seconds.
- Test and Confirm: Once detected, the software will ask you to test the connection. If you are pairing a mouse, move the cursor around. If you are pairing a keyboard, type a few characters in the provided test box.
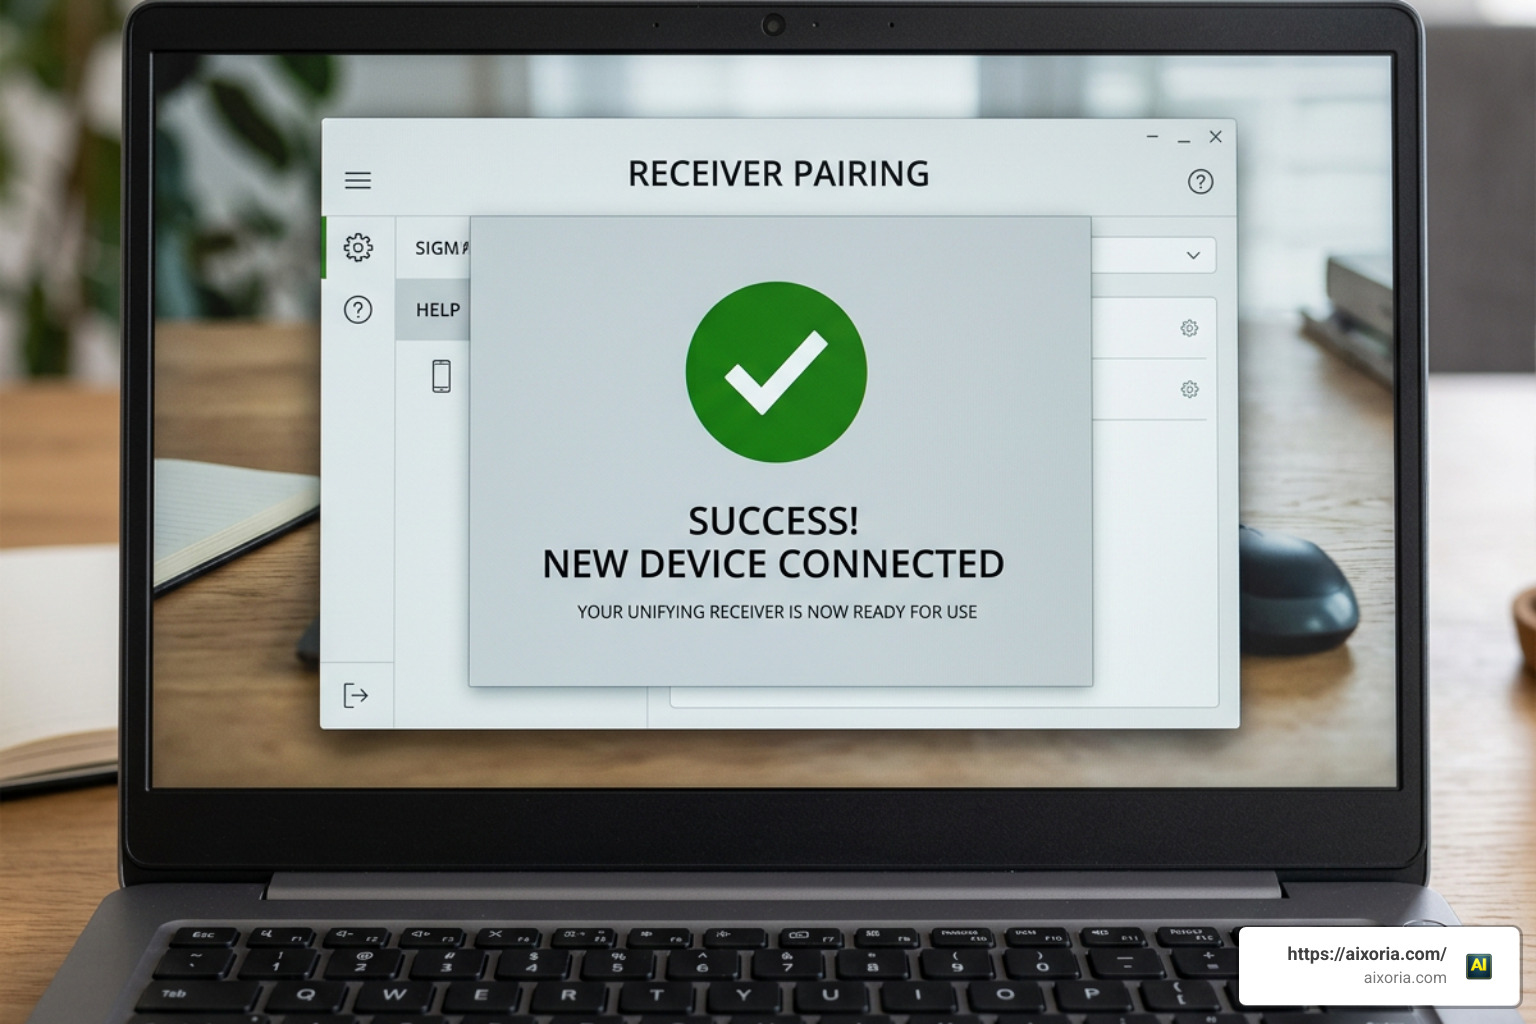
- Complete the Setup: If the device responds correctly, click Yes to confirm, then click Finish. Your device is now permanently paired to the receiver!
Linux and ChromeOS Logitech Unifying Receiver pairing instructions
If you are running Linux or ChromeOS, you will notice that Logitech does not offer an official version of Logi Options+ for your platform. But do not worry — you can still pair your devices easily.
For Linux users, the most popular and reliable utility is Solaar. Solaar is an open-source device manager for Logitech receivers that features a clean graphical user interface as well as a powerful command-line tool.
To pair a device on Linux using Solaar:
- Install Solaar through your package manager (for example, run sudo apt install solaar on Debian/Ubuntu-based systems).
- Plug in your Unifying Receiver.
- Open the Solaar GUI or run the command solaar pair in your terminal.
- Turn your Logitech device off and back on within the 20-second pairing window.
- The utility will detect and pair your device instantly.
For lightweight setups, you can also use a command-line tool called ltunify. Running the command ltunify pair will initiate a 30-second pairing window where you simply power cycle your device to connect it.
If you run into any permission issues or need to configure system rules to allow non-root access to the USB receiver, refer to the Unifying Receiver & Software – Pairing and Troubleshooting – Logitech Support + Download page for deep-dive technical support.
Troubleshooting Common Pairing and Connection Issues

Even with the best technology, things can occasionally go sideways. If your mouse is stuttering, your keyboard is dropping letters, or your computer refuses to recognize the receiver, we can fix it.
Most wireless connection drops are caused by environmental factors. The 2.4 GHz band is incredibly popular, meaning it shares space with your home Wi-Fi router, microwave ovens, baby monitors, and even USB 3.0 ports.
Yes, you read that right: USB 3.0 ports can emit radio-frequency interference in the 2.4 GHz to 2.5 GHz range. If your Unifying Receiver is plugged directly next to an active USB 3.0 hard drive or flash drive, the signal might drop.
To resolve this:
- Move the receiver to a USB 2.0 port if your computer has one.
- Use a short USB extension cable to position the receiver further away from the computer chassis and any active USB 3.0 devices.
- Ensure your mouse or keyboard is within three feet of the receiver during the initial pairing process.
How to Fix a Device That Won’t Pair
If your device refuses to pair at all, go through this quick checklist:
- Check the Batteries: Low battery power is the number one cause of pairing failures. Put in fresh alkaline batteries or fully charge your device before attempting to pair.
- Remove Old Devices: The Unifying Receiver has a strict limit of six paired devices. If you have already paired six devices over the years, the receiver will reject any new connections. You must use Logi Options+ or Solaar to unpair and remove an old, unused device before you can add a new one.
- Perform a Hard Reset: Unplug the receiver, turn off your device, restart your computer, plug the receiver back in, and try the pairing process again.
- Update the Firmware: Outdated firmware can cause security blocks or connection bugs. You can use Logitech’s official firmware update tool to refresh the internal software of both your receiver and your peripherals.
If you are still struggling to get a stable connection, you can read more comprehensive troubleshooting tips on How to Connect Logitech Unifying Receiver to get back up and running.
Frequently Asked Questions about Logitech Unifying Receivers
Can I use a Logitech Bolt receiver with Unifying devices?
No. Logitech Bolt and Logitech Unifying use completely different wireless technologies and security protocols. Logi Bolt is built on a specialized, secure version of Bluetooth Low Energy, whereas the Unifying Receiver uses a proprietary 2.4 GHz radio frequency.
Because the underlying hardware is different, they are not cross-compatible. You cannot pair a Unifying-ready keyboard to a Logi Bolt receiver, nor can you pair a Bolt-ready mouse to a Unifying Receiver. Always check the bottom of your device for either the orange Unifying asterisk or the light-green Bolt logo to know which receiver you need.
Is the standalone Logitech Unifying Software still supported?
No. The legacy standalone Logitech Unifying Software has been retired and is no longer actively supported or maintained by Logitech.
As we navigate through July 2026, it is highly recommended to use Logi Options+ for all pairing and device customization needs on modern Windows and macOS systems. Logi Options+ provides a much cleaner interface, better security updates, and advanced customization features that the old software simply cannot match.
Can I use a pre-paired receiver on a work PC without installing software?
Yes! This is one of the best hidden features of the Unifying Receiver.
The pairing information is saved directly onto the memory chip inside the USB dongle itself, not on your computer’s operating system. This means you can pair your keyboard and mouse to a Unifying Receiver on your personal home computer where you have full admin rights to install Logi Options+.
Once paired, you can unplug the USB receiver, take it to your office, and plug it into a locked-down work PC that blocks software installations. Your paired keyboard and mouse will work instantly as standard plug-and-play input devices without requiring any corporate IT approval or software downloads!”https://www.mediafire.com/file/zrc9xnlsybnvdj5/Furniture_Life_v2.0_BY_MCMPDL.mcaddon/file“;
Conclusion
Pairing your Logitech Unifying Receiver does not have to be a headache. By identifying the orange Unifying logo, downloading the modern Logi Options+ software, and following our simple step-by-step instructions, you can easily connect up to six devices to a single USB port. This keeps your workspace clean, organized, and highly efficient.
If you are eager to learn more about optimizing your tech setup, mastering software shortcuts, or exploring cutting-edge digital workflows, check out our collection of AI Tutorials to boost your daily productivity!